

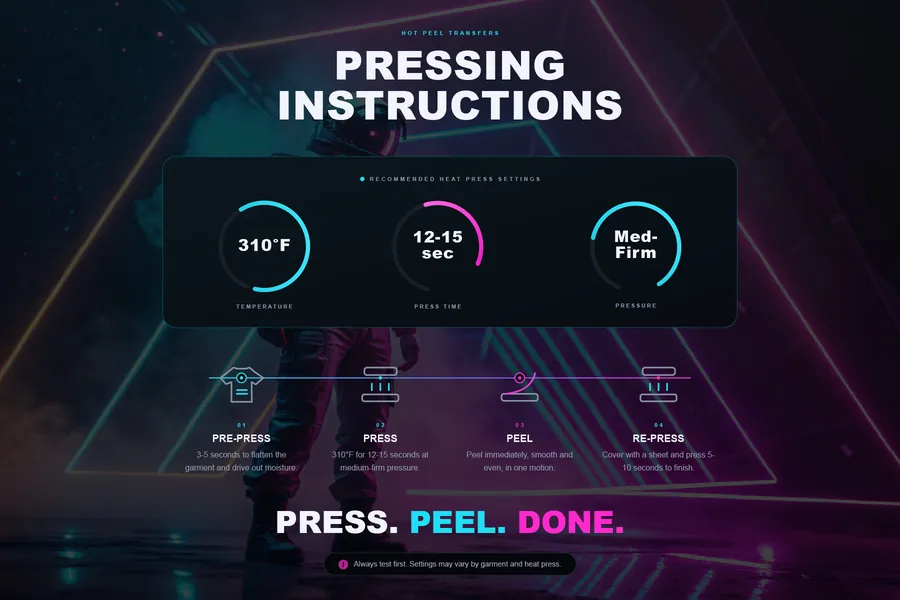
The settings
| Step | Setting | Time |
|---|---|---|
| Pre-press | Garment only, no transfer | 3–5 seconds |
| Press | 310°F, medium-firm pressure | 12–15 seconds |
| Peel | Hot, as soon as the press opens | One smooth motion |
| Re-press | Covered with a sheet | 5–10 seconds |
Before the first shirt
Let the press come fully up to temperature, then give it a few more minutes. The readout often reaches the number before the whole platen does. If you have an infrared thermometer or a surface probe, check the center and the corners. A press that reads 310°F but runs cool in one corner explains a lot of lifted edges.
Cut the transfers apart and leave a small margin around each one. Set medium-firm pressure: the press should close with real resistance, but you should not have to throw your weight on the handle.
Step by step
- Pre-press the garment for 3 to 5 seconds. This flattens the fabric and drives out moisture. Skipping it is a common reason transfers fail to stick, especially on hoodies and on humid days.
- Position the transfer with the design against the fabric and the film facing up. Keep seams, collars, zippers and pocket edges off the platen, or raise the print area with a pressing pillow, so the pressure lands on the design.
- Press at 310°F for 12 to 15 seconds at medium-firm pressure.
- Peel hot. Open the press and peel immediately, smooth and even, in one motion. Pull low and flat across the garment instead of straight up.
- Cover the design with a sheet (parchment or a finishing sheet) and re-press for 5 to 10 seconds. This sets the edges, pushes the print into the weave and takes down the shine.
Why the re-press matters
The first press bonds the adhesive. The second one finishes the print. It is the difference between a design that sits on top of the shirt and one that looks like part of it, and it is the step that gets dropped when a rush job stacks up. On a 24-piece order it adds a few minutes in total. Keep it.
Common problems and fixes
Edges lift during the peel
Stop, lay the film back down and press again for a few seconds. Then check pressure first and the pre-press second. Thick seams near the design steal pressure, so shift the garment on the platen or add a pillow.
Part of the design stays on the film
This is nearly always low pressure or a cool spot on the platen. Verify the temperature at the platen surface, raise the pressure one step and test again on a scrap.
The print looks shiny or leaves a press mark
Do the re-press with a cover sheet. A matte parchment sheet gives a flatter finish than a slick one. A press mark in the fabric around the design usually relaxes as the garment cools, and easing the pressure slightly on the next piece helps.
The fabric scorches or changes color
Some polyester and other heat-sensitive fabrics react at these temperatures. Test on one piece before you run the order. If the fabric marks, shorten the time or lower the temperature in small steps, and confirm the transfer still bonds before you commit to the run.
Results change through the day
A press that cycles nonstop can drift, and garments that come straight off a cold dock hold moisture. Recheck the platen temperature in the middle of the run and keep pre-pressing every piece.
Pressing a full order
Press one test piece and check it before you touch the rest: edges down, no shine, no marks on the fabric. Then set up a rhythm. Stack garments on one side, cut transfers on the other, and do the pre-press, press, peel and re-press on each piece before you move to the next. Batching all the first presses and coming back later for the re-press saves little time and makes it easy to miss a piece.
Questions
What temperature do I press DTF transfers at?
310°F for 12 to 15 seconds with medium-firm pressure. Always test first, since settings may vary by garment and heat press.
Are Hyperprints DTF transfers hot peel or cold peel?
Hot peel. Peel immediately after the press opens, smooth and even, in one motion.
Do I need to re-press after peeling?
Yes. Cover the design with a sheet and press again for 5 to 10 seconds to finish it.
Why pre-press the garment?
Three to five seconds of heat flattens the fabric and drives out moisture, so the adhesive meets a flat, dry surface.
Can I use the same settings on every garment?
Start with the card settings and test on one piece. Settings may vary by garment and by heat press.