
DTF Artwork Requirements: Preflight Files Before You Print
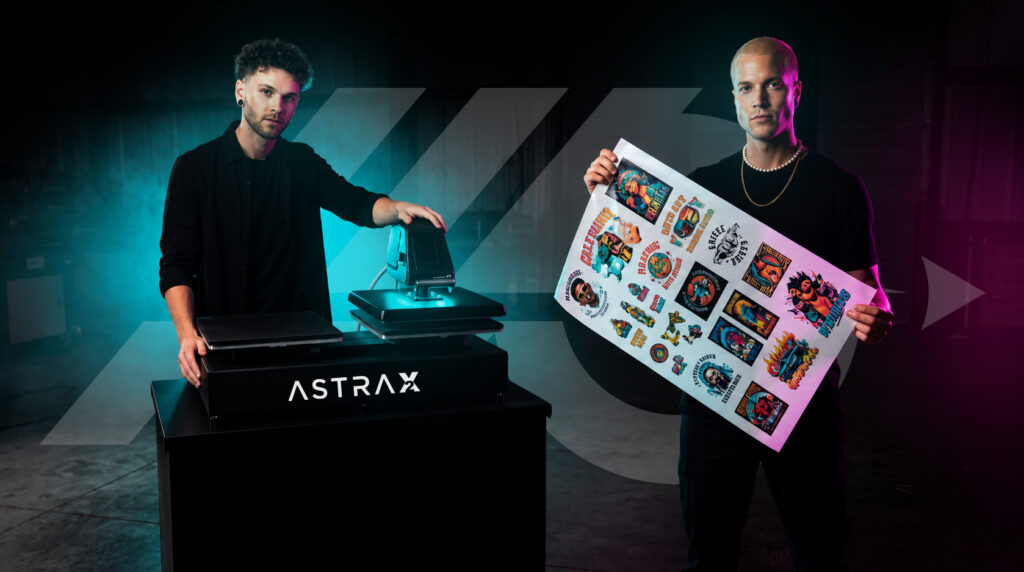
Use this DTF artwork requirements checklist to verify size, resolution, transparency, text, color, and garment context before you order or print transfers.

The expensive part of a bad DTF file is rarely the file. It is the moment the mistake becomes physical: a blurry mascot on 48 team shirts, a white rectangle around customer art, or a tiny line of type that looked fine on a laptop but closes up on the garment.
That is why DTF artwork requirements should be a preflight conversation, not a last-minute upload instruction. The goal is not to make every customer fluent in design software. It is to translate a creative file into a decision that can be produced, approved, and repeated without guesswork.
This guide gives shops a practical way to assess DTF transfer artwork before it reaches a gang sheet or RIP. It also separates universal production logic from supplier-specific rules. Your transfer provider’s current upload formats, color workflow, minimum-detail guidance, and application instructions always control; do not substitute a generic checklist for those requirements.
Start with the finished size, not the file name
“High resolution” is not a property a file keeps after it is enlarged. A 1,000-pixel-wide image may be plenty for a small left-chest print and unsuitable for a wide back graphic. Raster art is made from a fixed pixel grid, so it can lose detail or appear jagged when enlarged. Vector art is built from paths and can scale cleanly, although any embedded photo, texture, or raster effect inside it still has its own resolution limit.
Before reviewing file format or PPI, write down the actual decorated size and placement. Ask:
- Is this a left chest, full front, sleeve, youth size, or oversized back print?
- What garment colors and sizes are approved?
- Is the stated width the design’s printable art, or does it include transparent padding?
- Will the same art be used at more than one size?
Adobe identifies 300 PPI as a common quality benchmark for close-viewed print images, while also noting that the right resolution depends on final output and viewing distance. Treat that as a useful starting point, not a guarantee for every DTF workflow. The more reliable shop check is to inspect the raster file at its intended physical dimensions, then ask the transfer supplier if it has a required pixel size or minimum-resolution rule.
Practical example: A customer sends a social-media logo that looks crisp in a square profile image. Do not judge it at 100% zoom. Place it at the approved 11-inch shirt width. If the edges or small letters are already soft, a higher PPI label will not recreate missing pixels. Request the original vector logo or a larger original export.
Know what kind of file you actually received
The best source file is usually the one that preserves the most useful information for the next step. That is not always the same as the file that opens most easily on a phone.
Vector artwork: strong for logos and type
Formats such as AI, EPS, SVG, and many PDFs may retain vector paths. They are especially helpful for clean logos, lettering, and simple spot-style graphics because paths are resolution-independent. Still, open the file and inspect it: a PDF can contain a low-resolution image, and an Illustrator file can contain raster effects.
If text may be handed off between systems, keep an editable master and provide an approved production version with fonts outlined when the supplier requests it. STAHLS’ notes that converting live text to outlines/curves helps preserve its intended appearance across computers. Do not outline the only copy; it makes later copy edits unnecessarily difficult.
Raster artwork: workable when it starts large enough
PNG, TIFF, PSD, and high-quality JPEG files are raster formats. They are normal and often appropriate for photos, painterly illustrations, and finished artwork with complex shading. The test is pixel dimensions at final print size, not whether the filename ends in .png.
PNG is often useful when the finished art needs a transparent background because it can retain transparency. A JPEG does not retain transparent pixels, so a white or colored box may be part of the file not a transfer defect. A PSD may preserve layers for your design team but may not be the accepted upload format for your provider; export a copy only after checking its current requirements.
Screenshots and flattened mockups: proof tools, not production files
A screenshot can prove what a customer wants. It is rarely the best production asset. Likewise, a shirt mockup may contain a garment background, perspective, shadows, or other presentation elements that should not print. Keep the approved mockup and the production-ready art as separate files, linked by the same job ID.
Treat transparent background and faded transparency differently
These two ideas are easy to confuse.
A transparent background means the space around the art does not print. That is often exactly what a DTF order needs. A faded or semi-transparent edge means pixels within the design gradually become less opaque. That may create a production risk because adhesive powder needs enough printed area to hold. Impressions and STAHLS’ both specifically caution that soft edges or transparent pixels can produce poor adhesion or print-quality results in DTF.
Do not automatically reject every transparent PNG. Instead, inspect the artwork’s outer edge and internal effects at print size. Look for drop shadows, glows, smoke, feathers, semi-transparent watercolors, or faint distressed pixels. Then choose one of three paths:
- Use a clean hard edge when the design will still look right without the fade.
- Redesign the fade as printable halftone dots only after confirming the supplier’s minimum printable detail and testing a representative sample.
- Change the visual treatment – for example, place the image in a solid shape or use intentional garment-color knockouts—to preserve the design without relying on fragile edge pixels.
That is a design tradeoff, not a failure of creativity. A little open garment area can reduce ink coverage and change the feel of a large graphic, but it also changes the look on different garment colors. Show the customer an accurate proof before production.
Check small details where they will actually be worn
DTF can reproduce fine features, but “fine” is not a universal measurement. The smallest reliable line, gap, dot, or type size depends on the transfer system, artwork, material, and final size. Impressions recommends checking the printer’s specification before deciding which small dots to retain. Follow the transfer supplier’s current minimum-detail guidance, especially for wholesale artwork that may be reordered months later.
At minimum, inspect these areas at final size:
- Thin strokes and narrow gaps inside letters
- Small registration marks, stars, whiskers, or distressed specks
- Tiny reverse type knocked out of a dark field
- Sharp corners near a design’s outer edge
- Details that change substantially between adult and youth sizes
When readability matters; names, jersey numbers, event dates, care instructions – print a proof at the intended size or press a sample. A beautifully rendered three-inch phone preview is not a production test.
Put color expectations in the job ticket
Screens emit light; decorated garments reflect it. That is why an on-screen color and a finished transfer can differ, even when the art file itself is correct. STAHLS’ recommends sRGB as a working-space baseline for its heat-transfer artwork workflow, but color handling varies by provider, RIP, ink set, and substrate. Follow the provider’s stated color profile and proofing process.
For a high-stakes brand color, do not promise a perfect screen match from an emailed PNG. Capture the intended color reference, garment color, and approval method in the job ticket. If exact color is critical, ask the supplier what proof or sample path it supports before selling the result as a match. This is especially important when a distributor, franchise, school, or reseller will compare additions to an earlier run.
The seven-minute DTF artwork preflight
Build this into art approval or order intake. The goal is to stop a bad assumption before it becomes a reprint.
- Match the order. Confirm customer, art version, quantity, garment colors, placement, and finished dimensions.
- Check the canvas. Remove unintended backgrounds and excess transparent padding; make sure the actual art measures correctly.
- Identify the file type. Preserve a vector master when available; assess raster pixel dimensions at the final size.
- Inspect edges and effects. Flag semitransparent fades, glows, shadows, and unusually tiny distressed elements.
- Zoom out to print size. Evaluate legibility and visual balance at the size that will be worn, including youth or alternate versions.
- Set color expectations. Use the supplier’s profile/process, record the garment color, and flag color-critical jobs for a proof or sample.
- Create one source of truth. Save the approved proof, production file, job ID, final size, and any exceptions together.
If a file fails one of these checks, use a clear disposition: request better source art, send it for art cleanup, revise the design, or obtain written approval for the limitation. “Customer supplied it” is not a reliable production standard.
Make the handoff repeatable across your team
File quality is only half the system. Version control prevents the equally costly error of printing the right art from the wrong revision. Use a naming pattern that includes the job ID, version, intended placement, and width, such as HP-5174_v2_Front_11in. Store the approved proof alongside that file, not in an unrelated email thread.
For gang sheets, include a small order map or cut-and-sort instruction. For repeat orders, retain the exact approved production file and notes about any design compromise: “hard edge substituted for fade,” “youth art simplified,” or “customer approved warmer blue.” The next operator should not need to rediscover that decision.
Hyperprints can be a useful production partner once the art is ready. Share the final size, garment context, and any color or detail concern with the order; use the provider’s current artwork and application guidance; and test unfamiliar combinations before scaling a customer run. Good DTF files do more than avoid rejected uploads – they make ordering, pressing, reordering, and supporting customers much more predictable. For the next production step, use a DTF transfer quality-control workflow to inspect transfers, verify press setup, and approve the first piece. Once transfers are ready to press, learn how to store approved DTF transfers so they remain protected and traceable.
FAQ
What files are best for DTF transfers?
Use the file formats your transfer provider currently accepts. Vector source art is valuable for clean logos and lettering; a high-quality PNG or other raster file can work well when it has enough pixels at final print size and the required background treatment.
Do DTF transfers need a transparent background?
Usually, the area around a standalone design should be transparent so it does not print as a box. That is different from semi-transparent fades within the art, which may need redesign or testing for DTF.
Is 300 PPI enough for DTF artwork?
It is a common close-viewed print benchmark, but it is not a universal DTF acceptance rule. Judge raster art at its final physical size and follow the transfer supplier’s required pixel dimensions or resolution guidance.
Can I use a JPEG for a DTF transfer?
Possibly, if the supplier accepts it and a solid background is intentional. JPEG does not preserve transparency, so it is often a poor choice for standalone art that should print without a background box.
Why does a transparent or faded design need extra review?
Soft edge pixels may not provide enough printed area for consistent adhesive behavior. Inspect fades, shadows, glows, and distressed details; then use a hard edge, an approved halftone treatment, or a representative test according to your supplier’s guidance.
Should I outline fonts before submitting DTF art?
Keep an editable master first. If the supplier requests outlined fonts or you are handing the file to another system, an approved outlined production copy can prevent font substitution. Confirm that the outlined version still looks correct.
Resources/further reading
- Adobe Photoshop: Resolution specs for printing images Current guidance on 300 PPI as a close-viewed print benchmark and why final use matters.
- Adobe Illustrator: Importing bitmap images Explains why raster graphics are resolution-dependent and may degrade when enlarged.
- STAHLS’: Artwork tips for heat transfers Practical DTF guidance on raster versus vector art, sRGB, outlined text, and soft edges.
- Impressions: Designing for DTF Trade-expert guidance on faded edges, adhesive coverage, fine details, and intentional garment-color openings.